|
|
|||||||||||||||||||||||||||||||||||||||||
 |
|
||||||||||||||||||||||||||||||||||||||||
|
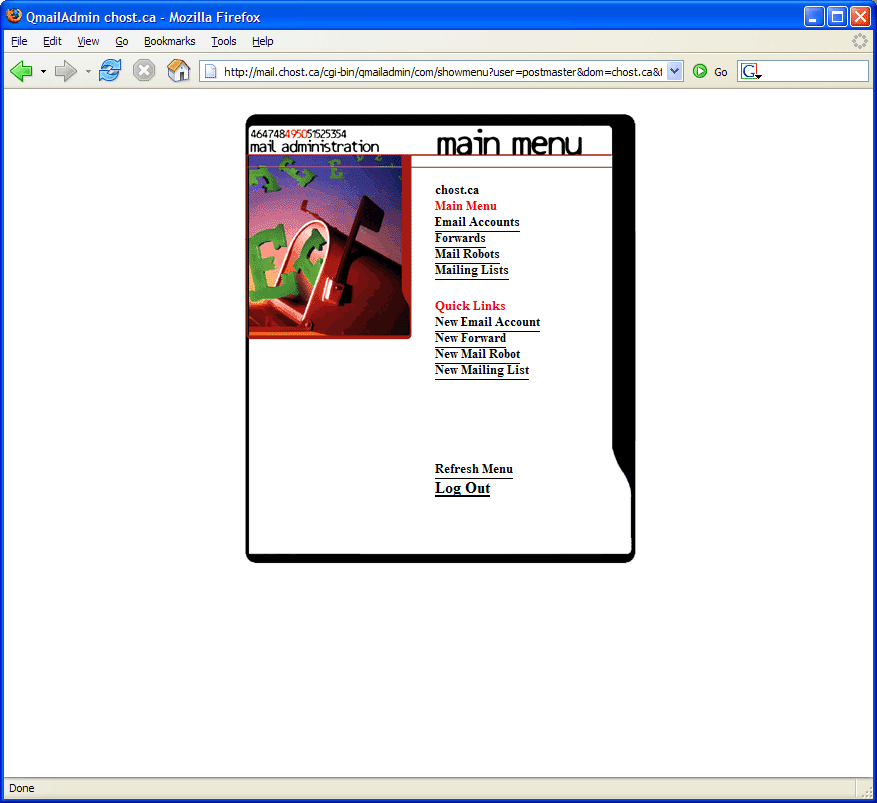
::::: Email account setup ::::: To receive and send mail via outlook, please follow these simple steps: a/ Login to Qmail admin to create your email account via http://mail.chost.ca. You can find the login information for Qmail admin in the email you received containing your FTP and domain information.
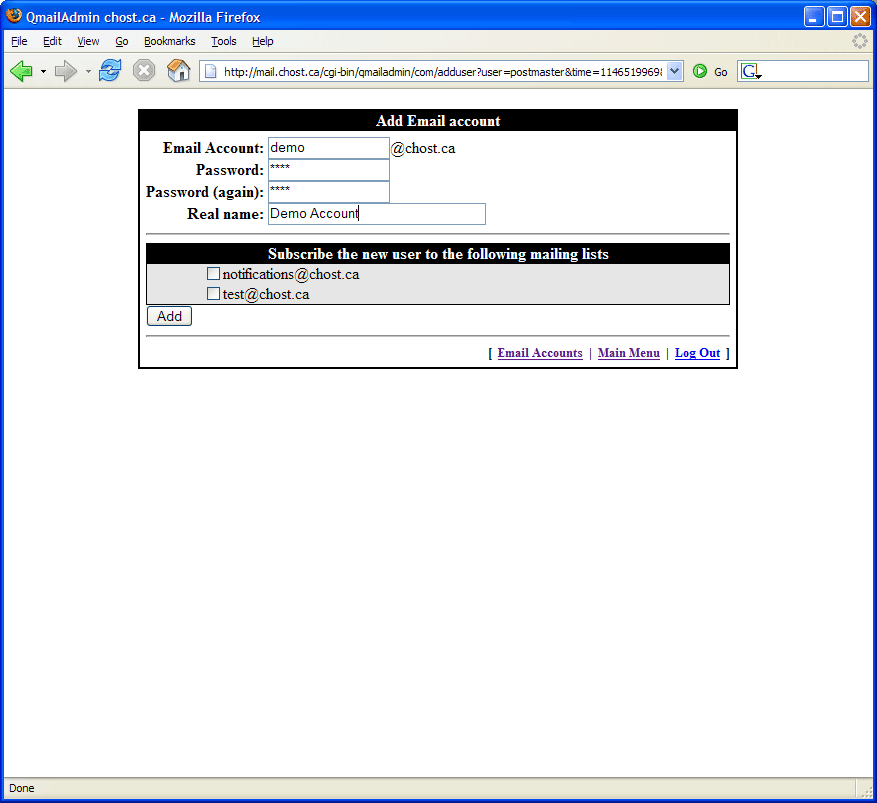
b/ Enter the name of the email account along with the password and a bried description of the account user (such as his/her name).
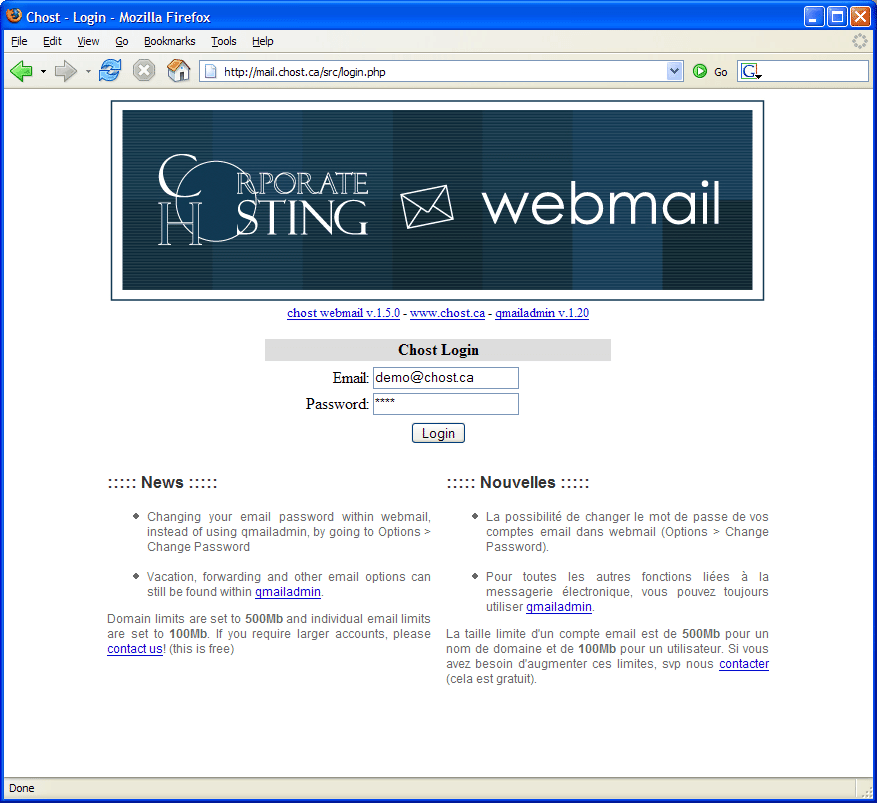
c/ Use webmail to make sure the account is working. The login ID is the complete email address and the password is the password you specified in Qmail admin. You can find webmail at http://mail.chost.ca.
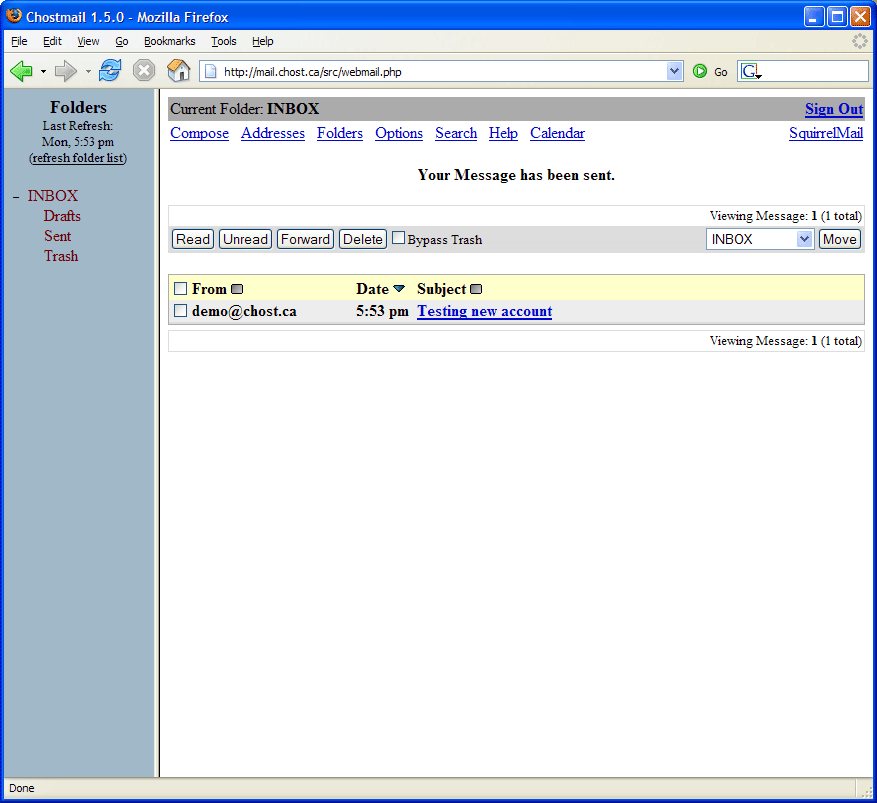
d/ You can send an email to yourself to see if it works.
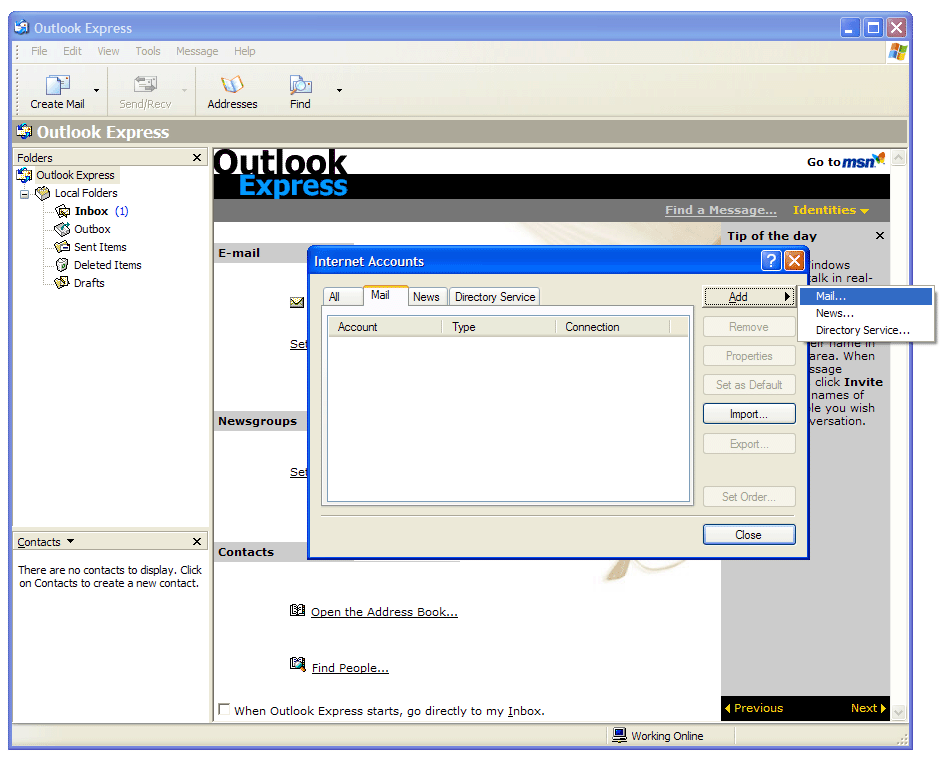
g/ Click on the Mail tab and click on the Add button -> Mail...
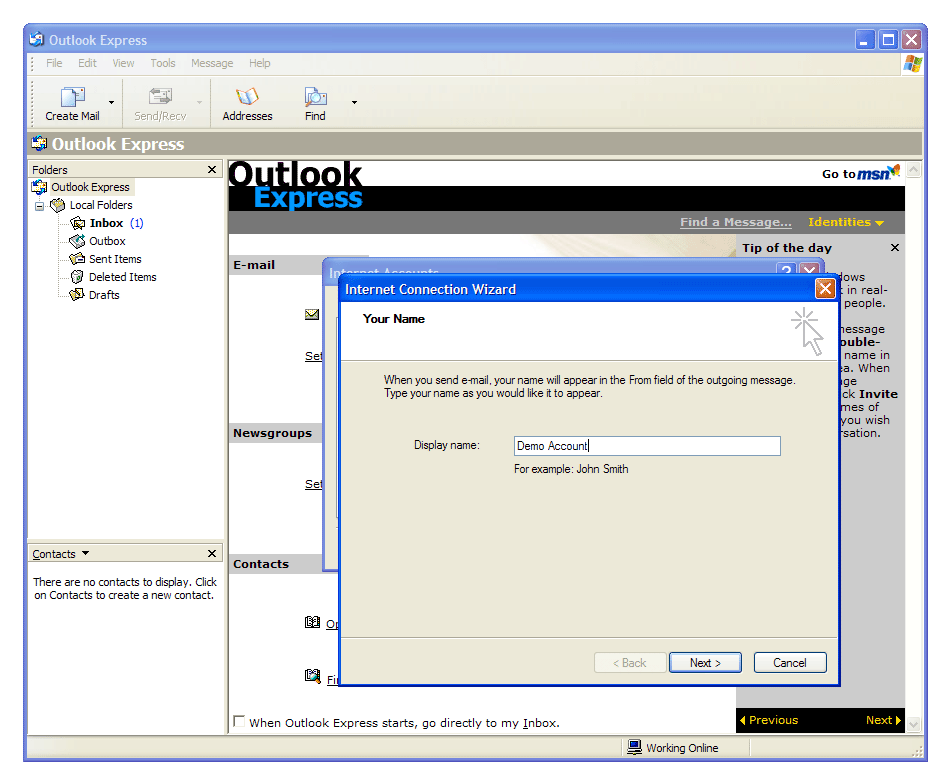
h/ Enter your name as you would like it to appear when you send an email.
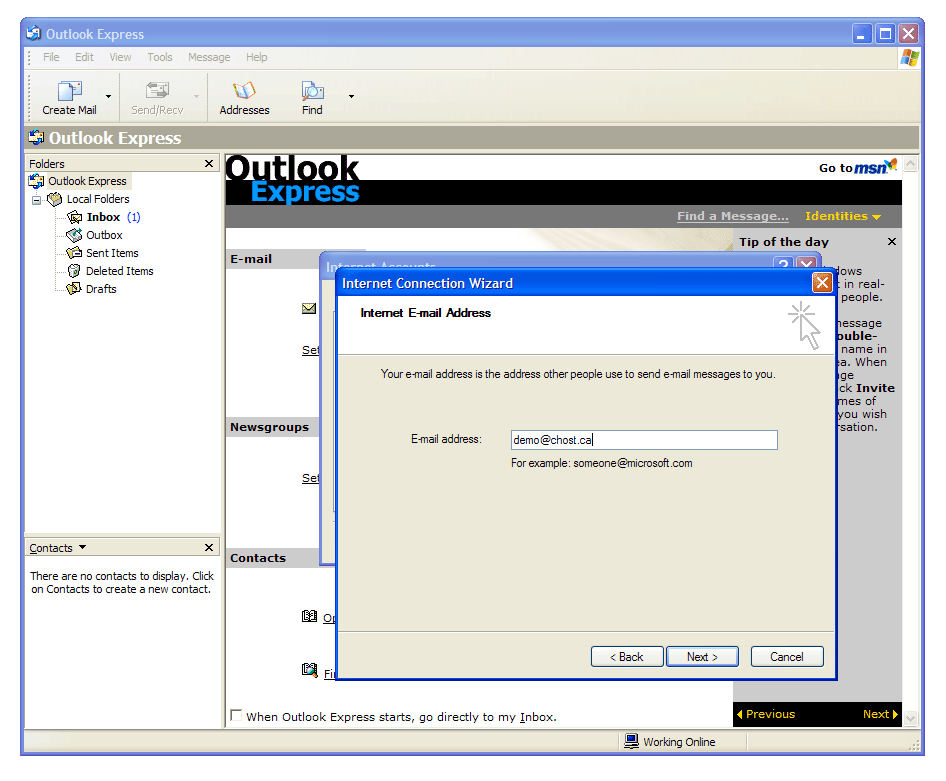
i/ Enter the email address you just created.
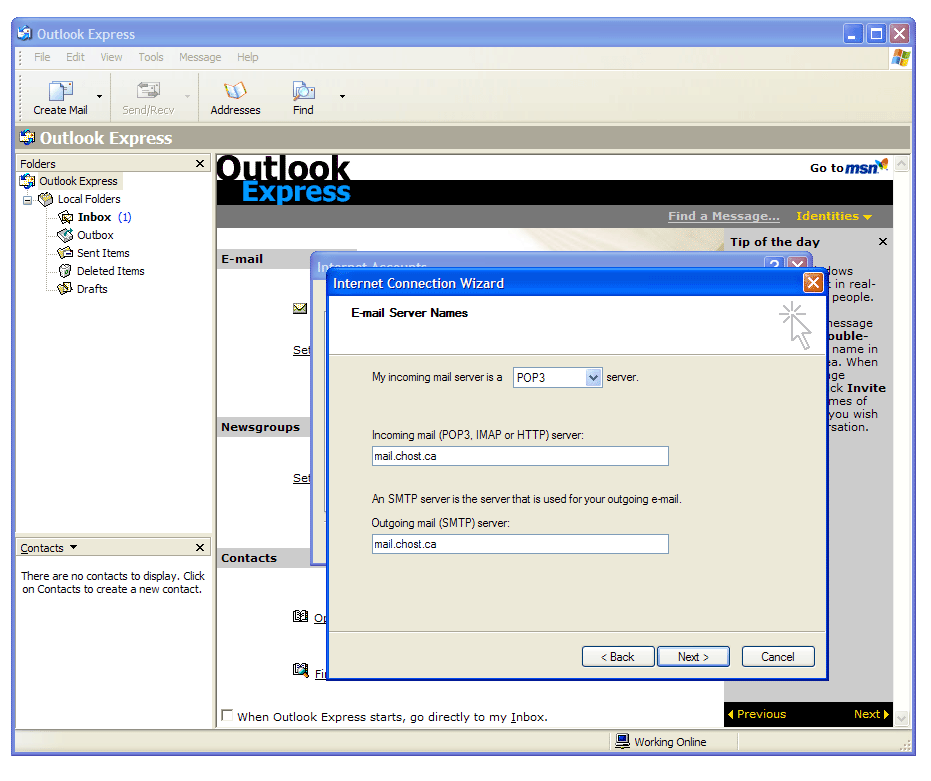
j/ Enter the name of the the incoming mail server:
k/ Setup your outgoing mail server:
You may also use the SMTP server available via your Internet Service Provider (i.e. relais.videotron.ca, smtp10.sympatico.ca, smtp.xplornet.com, smtp.direcway.com, etc.).
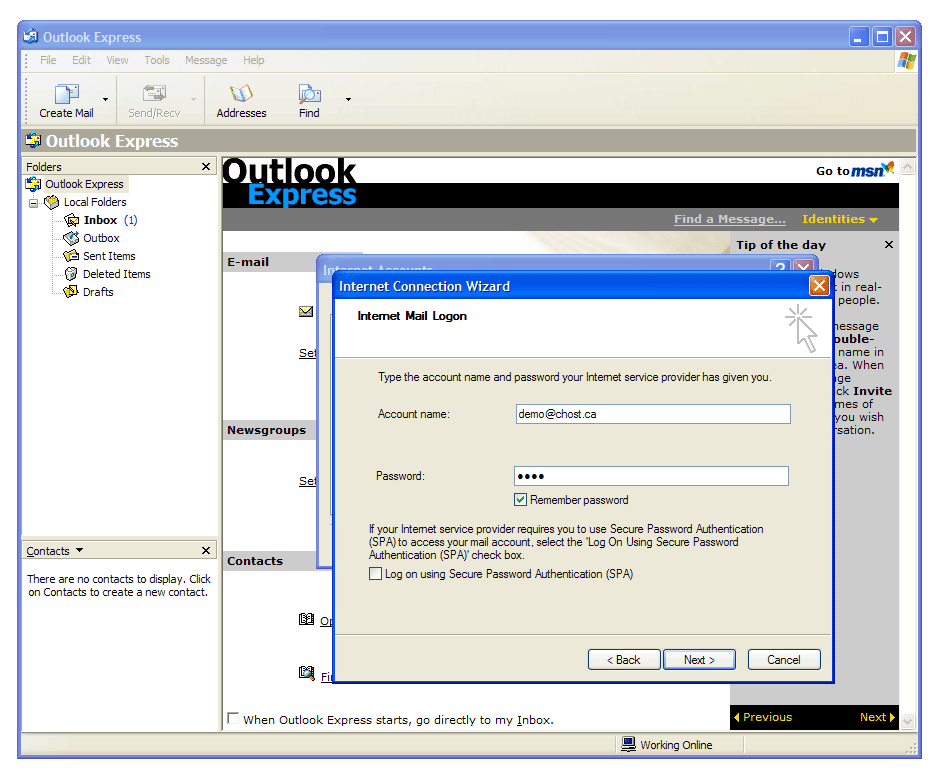
l/ Enter the Account Name - this is the complete email address. Enter the password you specified in Qmail admin. The option to remember the password should already be selected.
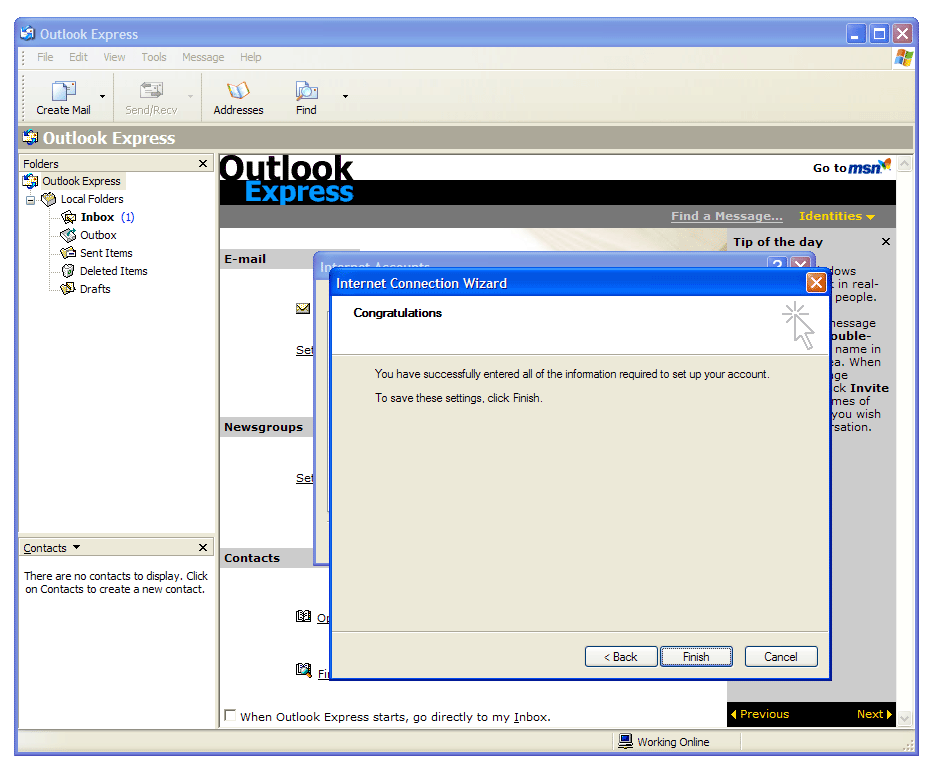
m/ Click on Finish to complete the process
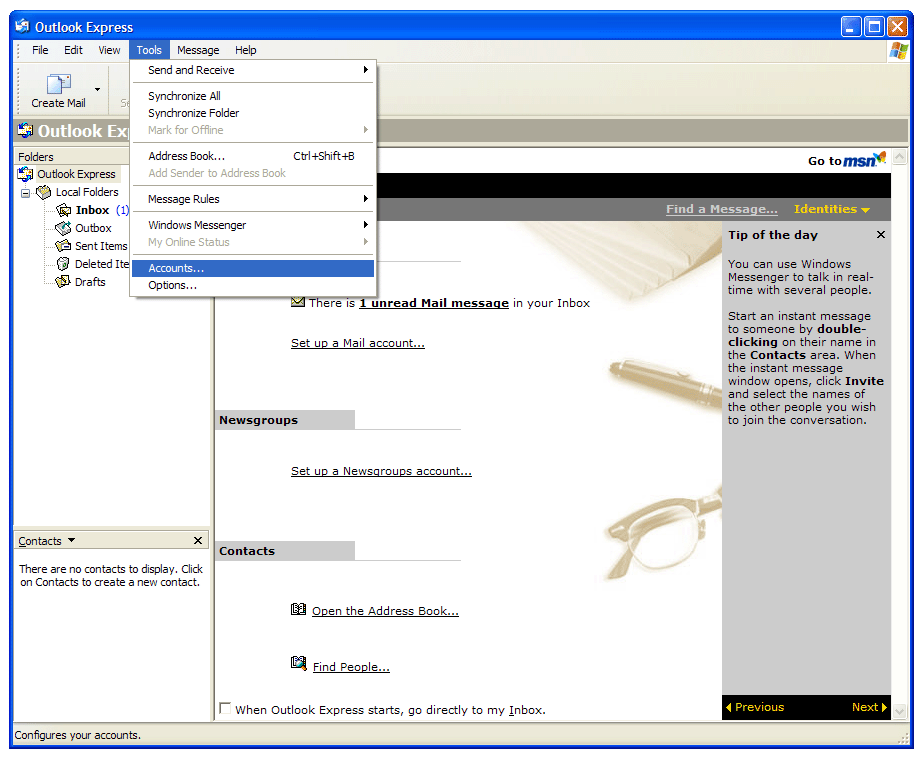
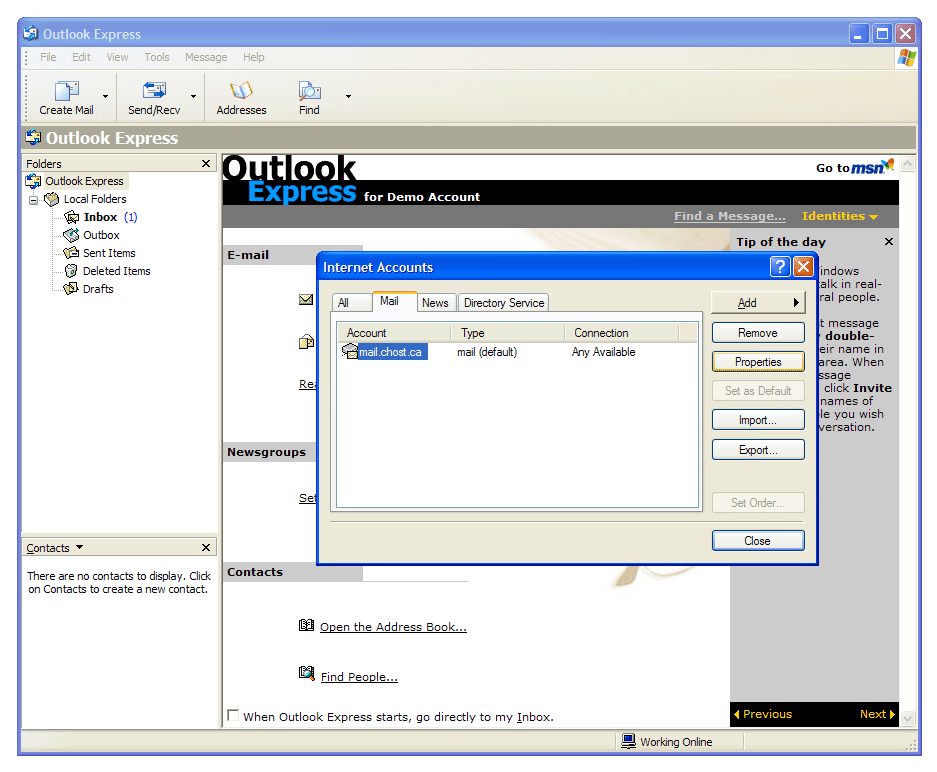
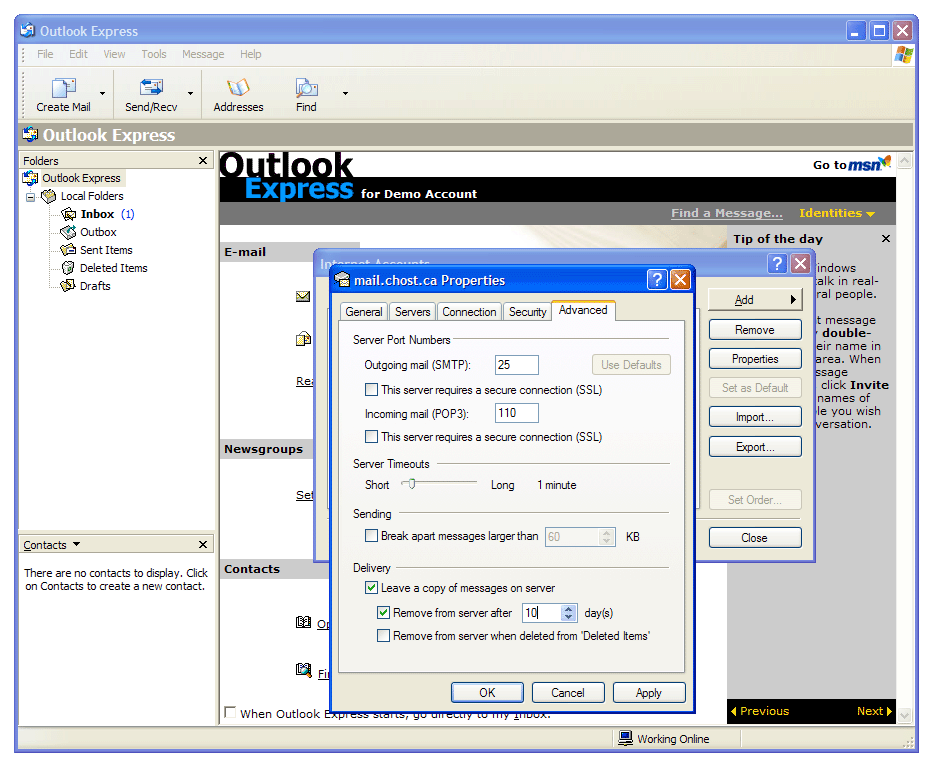
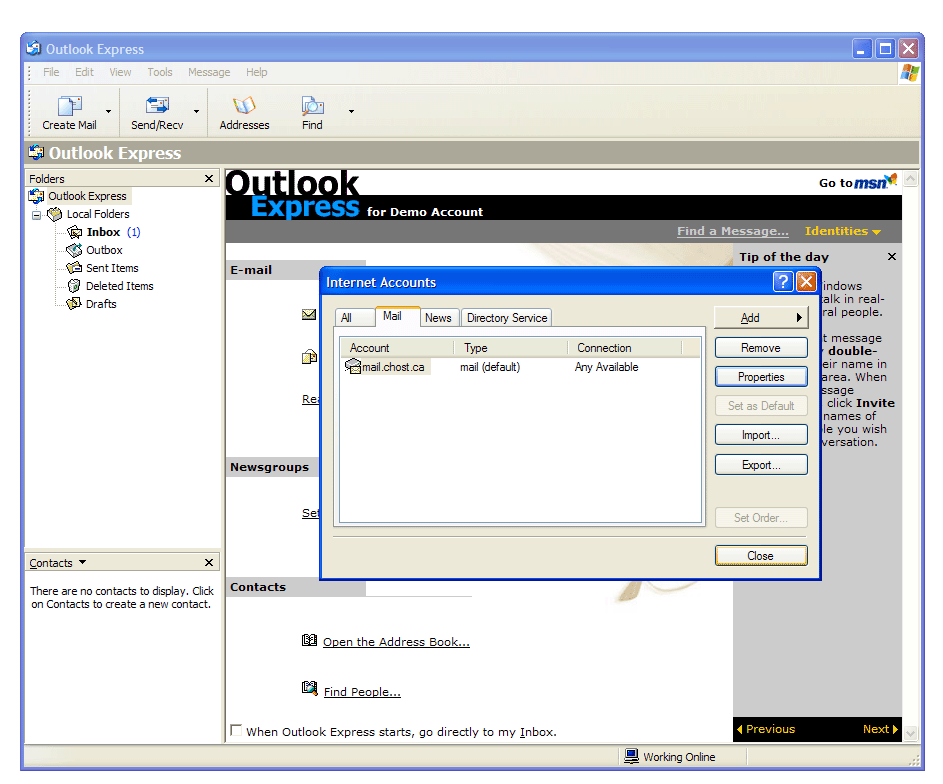
n/ Return to Tools -> Accounts to set advanced account parameters
o/ Such as the option to keep all incoming emails on the server for 10, 20, xx days after they have been downloaded into Outlook Express. This is useful if you need to access recent emails via webmail (http://mail.chost.ca) when you are away from your computer where Outlook Express is installed.
p/ Close the Accounts window when you are done.
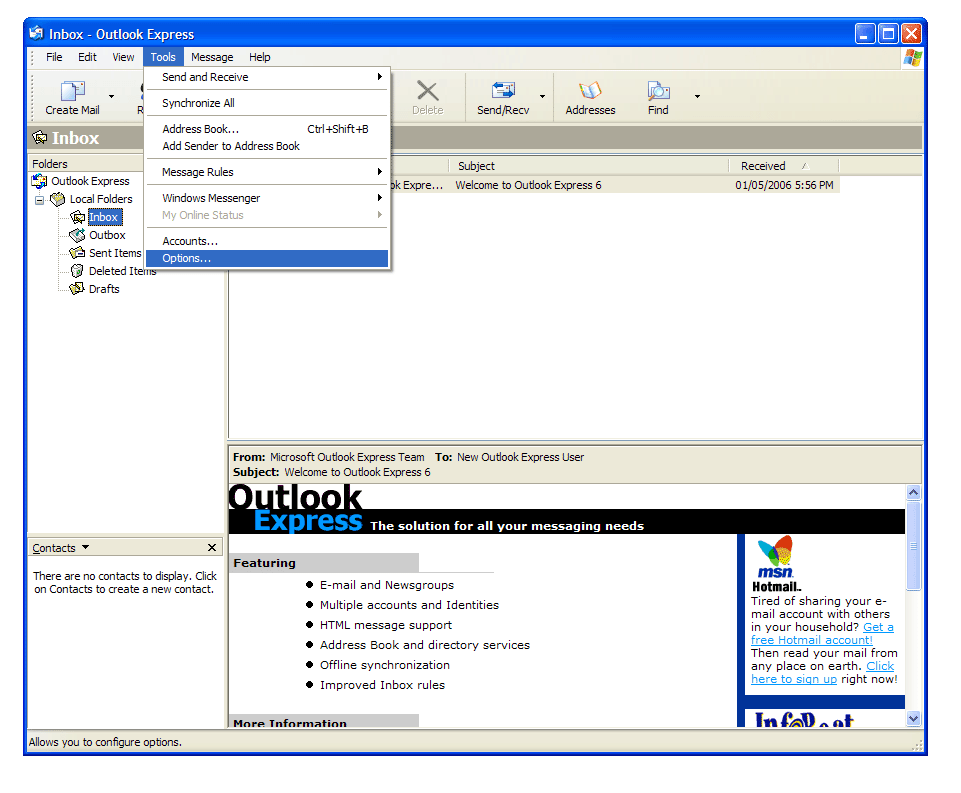
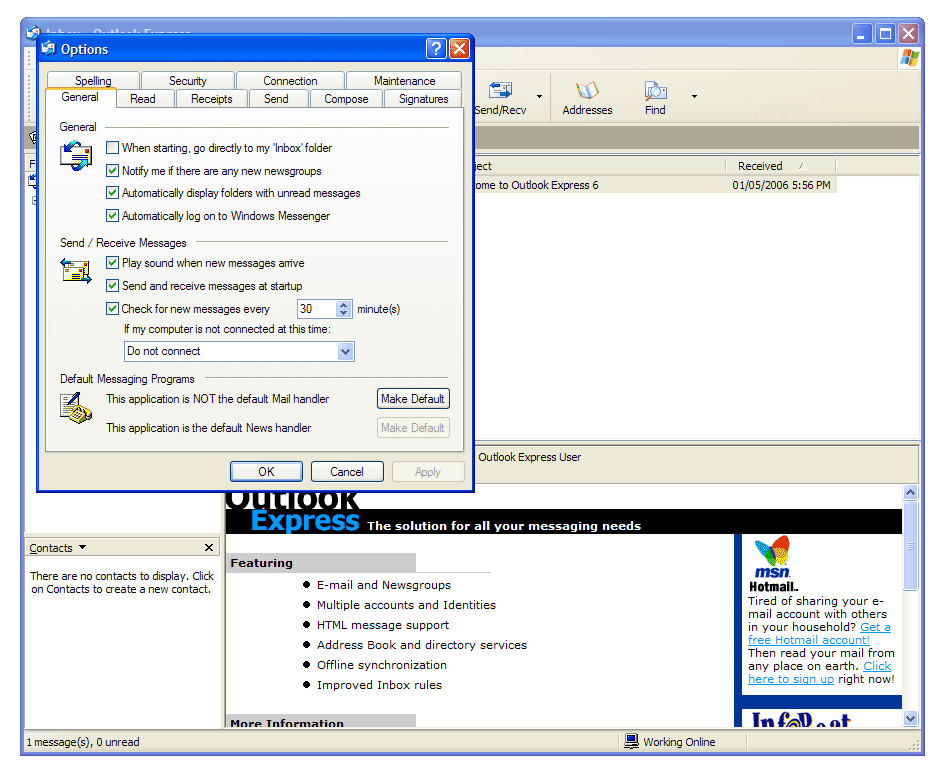
q/ Go to Tools -> Options to set further account parameters
r/ Such as when to check for emails - do not set this to less than every 15mn to avoid unnecessary server load.
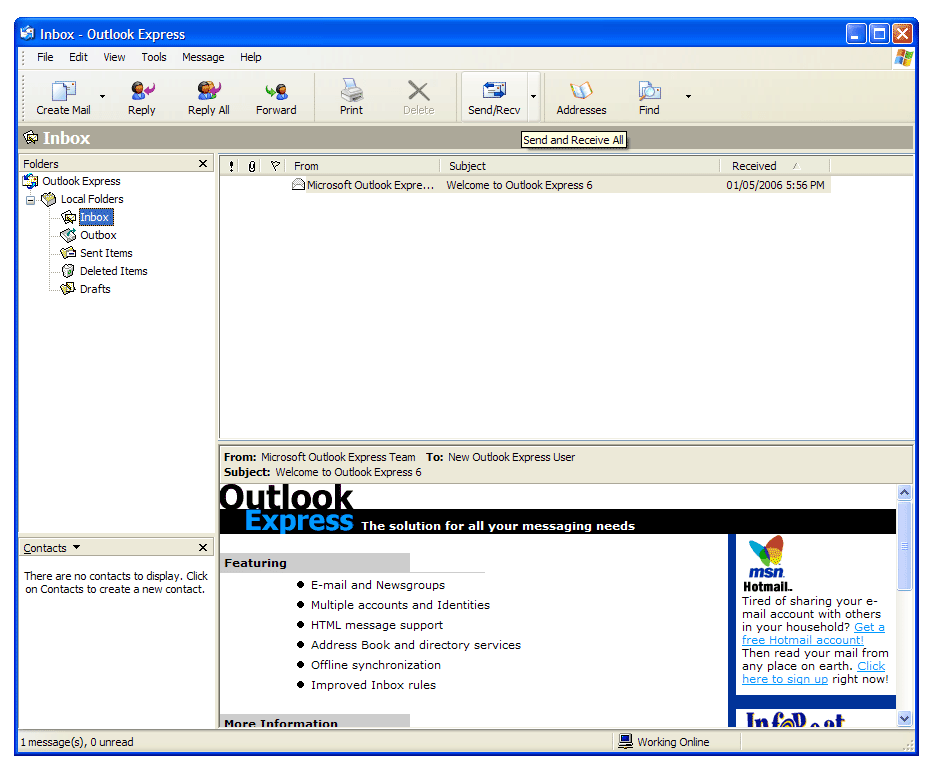
s/ To see if everything works, click on Send/Recv in the toolbar.
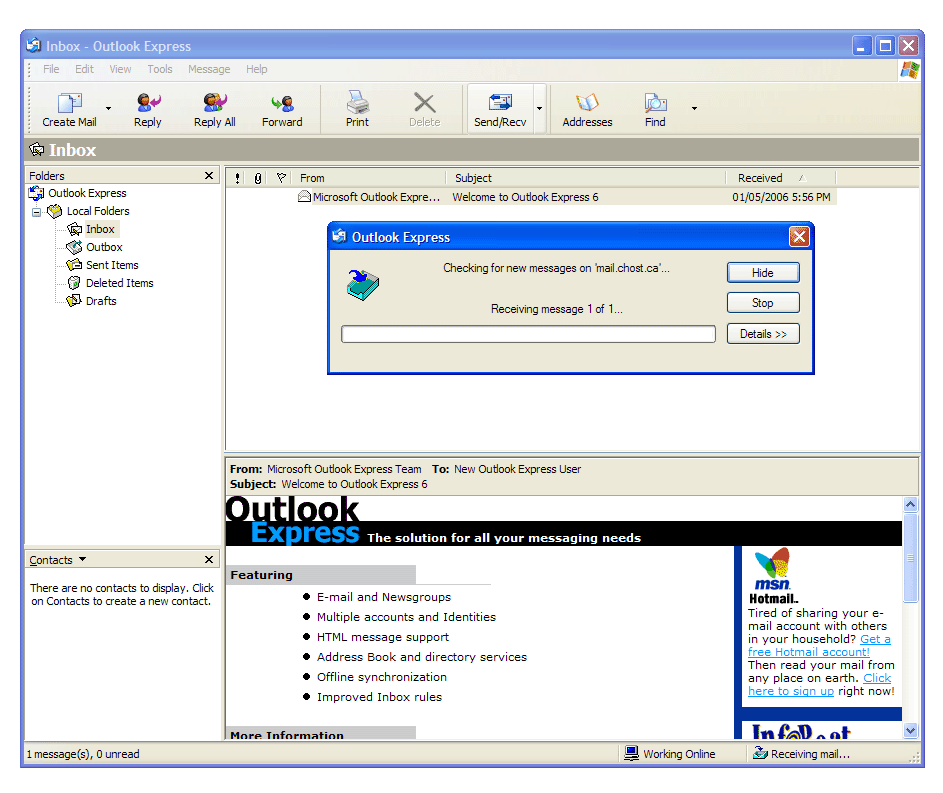
t/ Outlook Express will show a status window that can stay on the screen anywhere from 1 second (if you are on a very fast connection) to 5mn (if you have lots of emails on a slow connection).
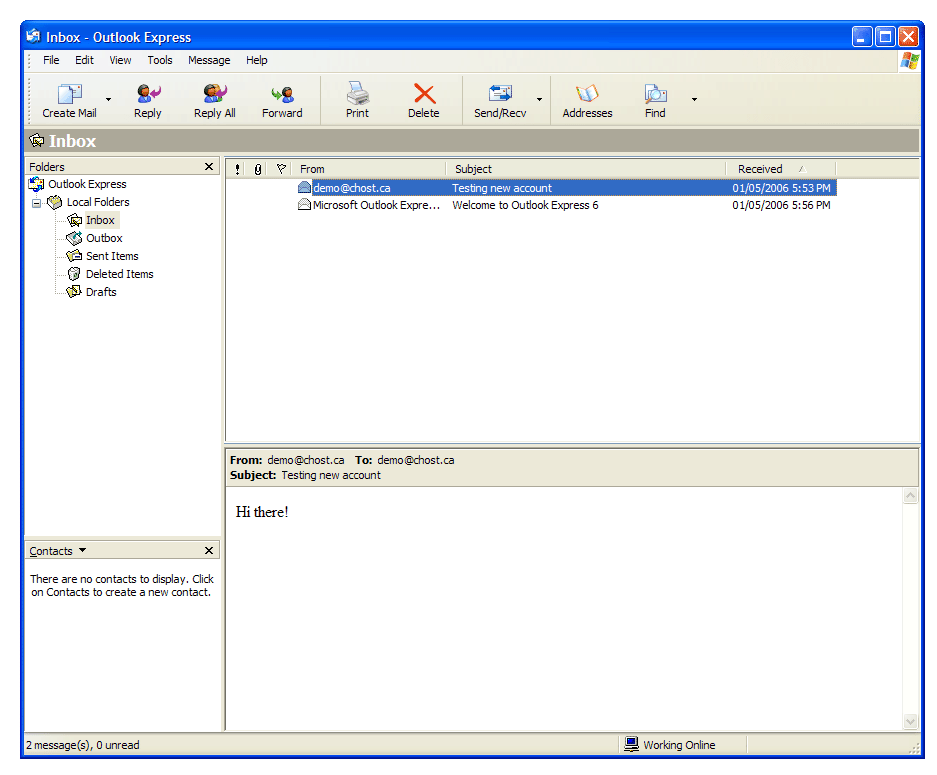
u/ Your emails will appear in the Outlook Express inbox.
v/ Enjoy and contact us if you have any questions. |
|
Welcome |


